
Follow Me On Social Media!
Chocolate Thumbprint Cookies That Melt in Your Mouth
Introduction to Chocolate Thumbprint Cookies
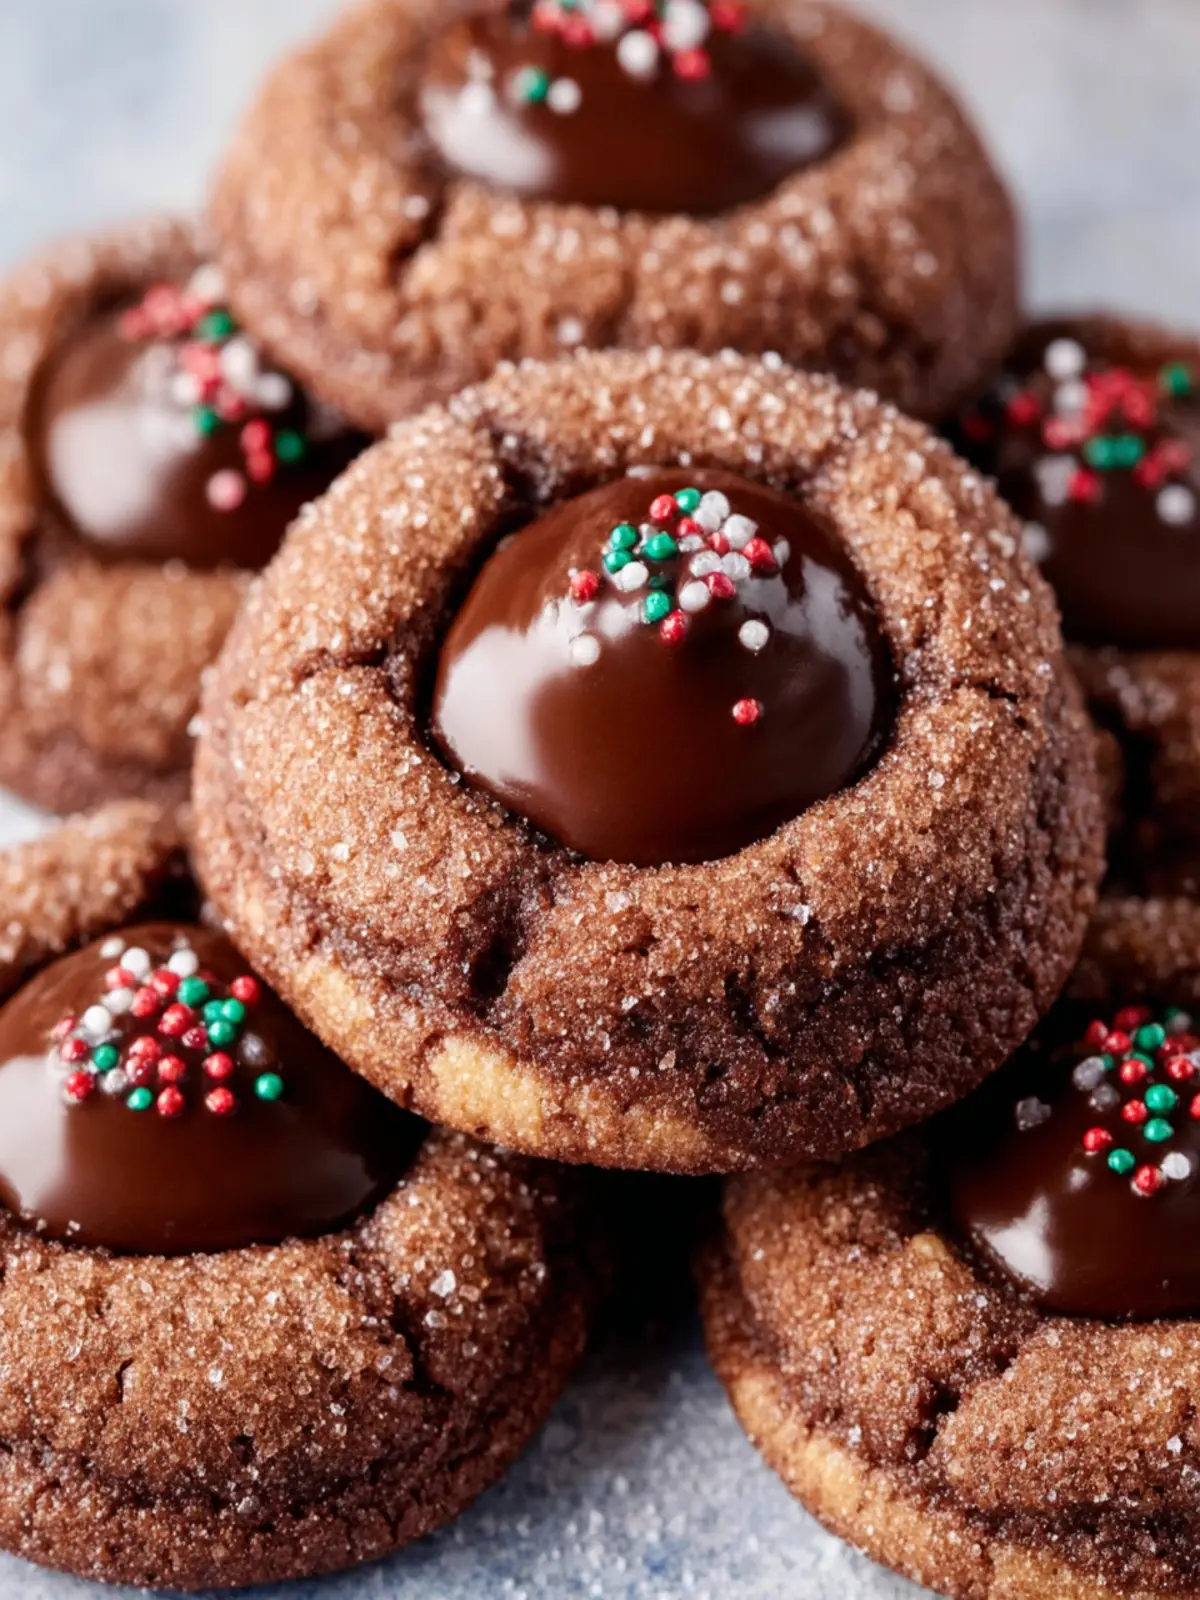
Imagine biting into a chocolate thumbprint cookie, where the crisp exterior gives way to a rich, melt-in-your-mouth center, crowned with a delightful dollop of chocolate or jam. These cookies are not just a treat; they are a celebration of flavor, texture, and nostalgia that transport you back to your childhood, where every homemade cookie felt like a hug from the oven.
In today’s fast-paced world, finding small moments of joy in the kitchen can be a comforting escape. As you mix, roll, and press each cookie, you’re not just crafting a delicious dessert. You’re creating a masterpiece that your friends and family will savor, each bite rich with the warmth of chocolate and filled with the love of home baking.
Whether you’re prepping for a gathering, an afternoon snack, or just looking to indulge, these cookies offer the perfect balance of sweetness and richness. They’re extremely versatile and can be personalized with a variety of toppings, from nutty chocolate ganache to colorful fruit preserves. Plus, the charming “thumbprint” uniquely identifies each cookie as a little work of art, making them perfect for sharing (or keeping all to yourself!).
What makes chocolate thumbprint cookies irresistible?
- Decadent Chocolate: The use of quality cocoa powder in the dough ensures an intense chocolate flavor with every bite.
- Customizable Centers: The thumbprint creates a pocket for fillings of your choice, allowing you to experiment with different flavors like raspberry jam, caramel, or even a creamy peanut butter.
- Texture Play: The combination of a crisp outer layer with a soft, chewy center is an experience that keeps you reaching for just one more cookie.
With each batch, you’ll create memories wrapped in warmth and sweetness, and trust me—these chocolate thumbprint cookies will become a staple in your baking repertoire, ready to comfort and impress at a moment’s notice. Grab your apron and get ready to embark on this delightful baking adventure!

Key Ingredients for Chocolate Thumbprint Cookies
Creating the perfect chocolate thumbprint cookies requires a delightful blend of ingredients that work harmoniously together. Each component contributes its unique flavor and texture, allowing you to capture that sweet, chocolatey goodness in every bite.
-
Butter: For these cookies, I always opt for unsalted butter. It adds a rich, creamy base that enhances the chocolate flavor without overwhelming it. Soften it a bit to make mixing easier — trust me, the texture benefits!
-
Granulated Sugar: This ingredient provides sweetness and lightens the dough, allowing the cookies to spread just right while baking. It forms a lovely contrast with the chocolate filling.
-
Cocoa Powder: Using high-quality unsweetened cocoa powder is key. It gives the cookies their distinct chocolate flavor and a deep, dark color that makes them more enticing.
-
Flour: All-purpose flour is the foundation of these cookies. It absorbs the moisture from the butter and creates the soft, chewy texture we all love.
-
Milk: A splash of milk helps to bind the ingredients and enhances the dough’s consistency, making it easier to shape those charming thumbprints.
-
Chocolate Filling: The star of the show! Use your favorite chocolate, whether it’s a ganache or a simple chocolate chip. This indulgent touch makes each bite a chocolate lover’s dream.
Collect these ingredients, and you’ll be well on your way to crafting delicious chocolate thumbprint cookies that are perfect for any occasion!
Why You’ll Love This Recipe
When it comes to chocolate thumbprint cookies, the delight lies in their perfect blend of rich chocolate and smooth, creamy filling. These cookies evoke a sense of nostalgia, reminding many of the homemade treats that graced family gatherings or festive celebrations. Imagine walking into a kitchen where the warm scent of baking cookies welcomes you, wrapping you in comfort and joy.
Simple and Satisfying
One of the best aspects of these chocolate thumbprint cookies is their simplicity. With straightforward ingredients and an easy-to-follow process, you don’t have to be a baking expert to achieve cookie perfection.
- Mess-Free Fun: The thumbprint technique not only creates a beautiful presentation but also allows you to get creative with fillings, like chocolate ganache or fruit preserves.
- Sharing is Caring: These cookies are the perfect addition to a potluck or a cozy gathering with friends. Everyone loves a sweet treat, and you might just find them craving your cookies long after the event!
Customization Galore
What’s more, these cookies are incredibly versatile. Want to spice things up? Experiment with flavored chocolates for the filling, or swap in different nut butters. Your creativity is the only limit here.
So, roll up your sleeves and dive into this delightful recipe. You’ll discover a new favorite treat that’s sure to impress!
Tips for Making Perfect Chocolate Thumbprint Cookies
Creating chocolate thumbprint cookies can be a joyful experience, filled with the delightful aroma of cocoa wafting through your kitchen. To ensure your baking adventure is a success, consider these handy tips that can elevate your cookies to a whole new level.
Choose Quality Chocolate
Opt for high-quality chocolate for the filling. A rich chocolate ganache made with real chocolate will enhance the flavor of your cookies. If you’re feeling adventurous, try using dark chocolate for a more intense profile.
Mind Your Dough Consistency
The dough for chocolate thumbprint cookies should be slightly sticky but manageable. Chill the dough for at least 30 minutes before shaping it. This will make it easier to roll into balls and help prevent the cookies from spreading too much while baking.
Perfecting the Thumbprint
When forming the thumbprint, use your thumb gently to create an indentation; too much pressure can cause the cookie to crack. And remember, you’ll want to refill those thumbprints once the cookies come out of the oven, as they may puff up a bit during baking.
Bake at the Right Temperature
Make sure your oven is preheated to the right temperature. Baking at 350°F (175°C) is typically optimal for a nice rise while keeping the edges crisp and the centers chewy.
Let Them Cool
After baking, allow the cookies to cool on the tray for a few minutes before transferring them to a wire rack. This will help them firm up and maintain their shape.
With these tips in mind, your chocolate thumbprint cookies will be as delicious as they are delightful!
Time Details for Chocolate Thumbprint Cookies
Creating the perfect chocolate thumbprint cookies doesn’t just depend on the ingredients; timing is key! These delightful treats require a bit of patience, but the sweet reward is worth every minute spent.
Preparation Time
Set aside about 20 minutes to gather your ingredients and mix the cookie dough. You’ll be amazed at how quickly it all comes together!
Chilling Time
After prepping the dough, give it about 30 minutes in the fridge. Chilling not only enhances the flavors but also ensures a perfect texture when baking.
Baking Time
These cookies need approximately 12-15 minutes in the oven. Keep an eye on them; you want them soft yet set – the ultimate cookie conundrum!
Total Time
In total, you’ll be looking at around 1 hour to whip up these chocolate thumbprint cookies from start to finish. Grab a cup of coffee, and enjoy the anticipation as they bake!

Nutritional Information for Chocolate Thumbprint Cookies
Indulging in chocolate thumbprint cookies can spark joy and nostalgia, evoking memories of family baking sessions. These delightful treats not only satisfy your sweet tooth but also come with nutritional insights that can help you enjoy them responsibly.
Calories
Each chocolate thumbprint cookie packs approximately 120 calories. While they’re certainly not a diet food, they’re a delicious treat that can fit into a balanced diet when enjoyed in moderation.
Sugar
With around 10 grams of sugar per cookie, these sweet delights balance richness with that necessary sweet kick. If you’re mindful of sugar intake, consider savoring one or two cookies to enjoy the experience without overdoing it.
Saturated Fat
Each chocolate thumbprint cookie contains about 5 grams of saturated fat, primarily from the butter and chocolate. While healthy fats are important, moderation is key. Pairing these cookies with a glass of milk offers a great way to enjoy them while keeping your diet in check.
Remember, the pleasure of these cookies comes not just from their taste, but from the memories created while baking and sharing them!
FAQs About Chocolate Thumbprint Cookies
Baking the perfect chocolate thumbprint cookies can be a delightful experience, but questions often pop up along the way. Let’s address some common concerns to ensure your cookie adventure is smooth and rewarding.
How can I prevent the cookies from spreading too much?
If you’re worried about your chocolate thumbprint cookies spreading too much in the oven, a few handy tips can help:
- Chill the Dough: After mixing the dough, refrigerate it for about 30 minutes. Chilled dough is less likely to spread.
- Use the Right Flour: Make sure you’re using all-purpose flour and measuring it correctly. Too little flour can lead to spreading.
- Don’t Overmix: Mix the dough just until ingredients are combined. Overmixing can warm the dough, which causes it to spread.
Can I substitute ingredients for dietary restrictions?
Absolutely! Customizing your chocolate thumbprint cookies for dietary needs is easy:
- Flour: You can use a gluten-free flour blend to make these cookies gluten-free.
- Butter: Substitute with coconut oil or vegan butter for a dairy-free version.
- Eggs: Use a flaxseed meal or applesauce as an egg replacement if you’re following a vegan diet. Generally, 1 tablespoon of ground flaxseed mixed with 2.5 tablespoons of water equates to one egg.
What’s the best way to store leftover cookies?
To keep your chocolate thumbprint cookies fresh:
- Airtight Container: Store them in an airtight container at room temperature. This prevents them from getting stale.
- Refrigeration: You can refrigerate the cookies to extend their life, but bring them back to room temperature before serving for the best texture.
- Freezing: For longer storage, you can freeze the cookies. Just be sure to separate layers with parchment paper to avoid sticking.
With these tips in hand, you’re all set to enjoy delicious chocolate thumbprint cookies that cater to your taste and dietary preferences!
Conclusion on Chocolate Thumbprint Cookies
In the world of baking, chocolate thumbprint cookies hold a special place. They represent that perfect blend of comfort and indulgence, making each bite feel like a warm hug. When you gather your friends or family around these delightful cookies, you’re not just sharing treats; you’re creating memories.
Next time you’re in the kitchen, embrace the joy of baking these cookies. Experiment with different fillings or even add a sprinkle of sea salt for that gourmet touch. Whether it’s for a casual get-together or simply a sweet treat for yourself, these cookies are bound to be a hit. Happy baking!
Print
Chocolate Ganache Cookies
- Total Time: 35 minutes
- Yield: 24 cookies 1x
- Diet: vegetarian
Description
Delicious chocolate cookies topped with rich ganache and festive sprinkles.
Ingredients
Scale
- 1 1/2 cups All-purpose flour
- 1/2 cup Unsweetened cocoa powder (I used dutch process)
- 1/2 tsp Baking soda
- 1/2 tsp Salt
- 3/4 cup Unsalted butter (room temperature)
- 3/4 cup Brown sugar (packed light brown)
- 1/4 cup White granulated sugar
- 1 tsp Pure vanilla extract
- 1 Large egg (room temperature)
- 1/3 cup White granulated sugar
- 1/2 cup Semi-sweet chocolate chips
- 1/4 cup Heavy cream
- 1 Christmas sprinkles
Instructions
- In a medium bowl, sift the flour, cocoa powder, baking soda, and salt. Set aside.
- In a large bowl using a mixer, beat the butter, brown sugar, and sugar. Beat for 2 minutes on high speed, it will get pale in color and fluffy.
- Add the vanilla and egg. Mix on medium speed until combined. Add in the dry ingredients and mix on low speed until just combined. This will be a thicker cookie dough.
- Pour the sugar in a bowl big enough to roll the cookie dough balls in. Use a small cookie scoop to scoop the cookie dough. Roll each cookie dough ball in your hands so it is smooth. Then, roll each cookie dough ball in the sugar.
- Prep a cookie sheet with parchment paper. Place the cookie dough balls on the cookie sheet ( all of them). Use a 1/4th teaspoon to press a hole 2/3rds down into the cookie dough ball. If there are any cracks, use your hands to press it back together.
- Chill the cookie dough balls in the fridge for 1 hour. Preheat the oven to 350℉. Bake 12 cookie dough balls on the cookie sheet at a time. Bake for 9 minutes. Immediately press the 1/4th teaspoon into the holes again. Bake for 2 more minutes.
- Let the cookies sit for 5 minutes on the hot tray before transferring to a cooling rack. Cool completely.
- In a bowl, pour the chocolate chips in. In a small pan over medium heat, heat the heavy cream until steaming. Pour the hot hot cream over the chocolate chips. Let it sit for 2 minutes.
- Use a baking rubber spatula to mix the ganache until smooth. If any chocolate chunks remain, heat in the microwave for 10 second intervals until melted, stirring well in between.
- Use a 1 teaspoon to dollop the ganache on top of the cookie. Top the cookies with sprinkles. Place in the fridge for 10-15 minutes to set the ganache.
Notes
- This recipe yields soft and chewy cookies.
- Make sure the butter is at room temperature for best results.
- Prep Time: 20 minutes
- Cook Time: 15 minutes
- Category: dessert
- Method: bake
- Cuisine: American
Nutrition
- Serving Size: 1 cookie
- Calories: 150
- Sugar: 12g
- Sodium: 100mg
- Fat: 8g
- Saturated Fat: 5g
- Unsaturated Fat: 3g
- Trans Fat: 0g
- Carbohydrates: 18g
- Fiber: 1g
- Protein: 2g
- Cholesterol: 20mg