
Follow Me On Social Media!
Cream Wafer Sandwich Cookie Recipe: Irresistibly Creamy Delight
Introduction to Cream Wafer Sandwich Cookies
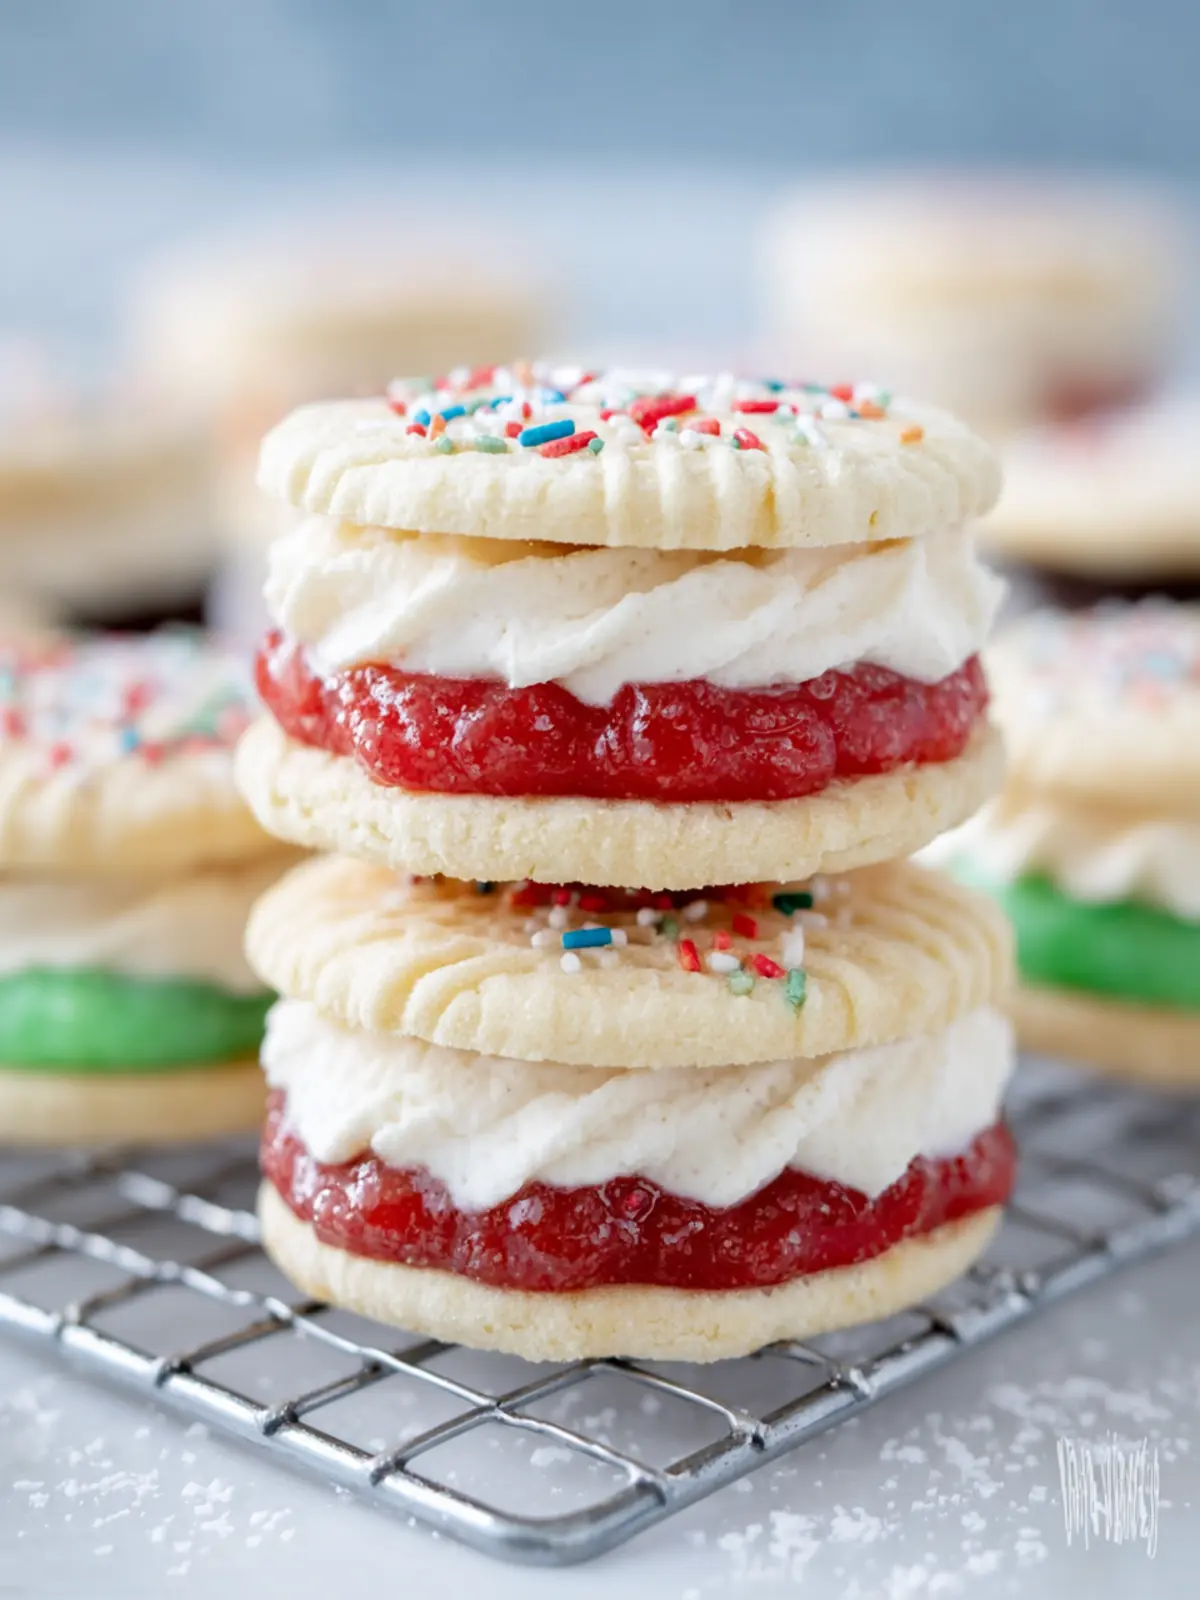
There’s something undeniably special about a cream wafer sandwich cookie recipe that transports you back to childhood, evoking memories of warm kitchens filled with laughter and the sweet scent of baking. These delightfully light cookies, primarily composed of crisp wafers and rich cream filling, offer a nostalgic taste of simpler times. Imagine the rush of excitement as you open a tin to reveal those delicate layers, shimmering with sweet cream—every bite is a reminder of cherished moments spent with family and friends.
Creating your own cream wafer sandwich cookies isn’t just a culinary activity; it’s an opportunity to craft happiness. Perhaps you remember sitting at the kitchen table, covered in flour, as you took on your first baking endeavor with a family member guiding you through the steps. Each rolled wafer tells a story, from flour-dusted countertops to sweet cream-smeared hands.
As you embark on this cooking adventure, don’t be surprised if your kitchen fills with whispers of nostalgia. This recipe is straightforward, requiring just a handful of ingredients that come together seamlessly. The joy of these cookies lies not only in their taste but also in the process—mixing, rolling, and assembling your very own batch brings a sense of accomplishment that’s hard to match.
If you’re ready to recreate those memories or establish new ones, this cream wafer sandwich cookie recipe will be your guide. Choose your favorite flavors for the cream filling, experiment with delightful variations, and make this treat your own. Whether it’s a quiet evening at home, a gathering with friends, or a celebratory occasion, these cookies will surely add a touch of sweetness to every moment.
So, why wait? Let’s delve into the simple yet rewarding steps needed to whip up these irresistible cookies and make your kitchen the heart of sweet indulgence once more. Happy baking!
Key Ingredients for Cream Wafer Sandwich Cookies
When crafting the perfect cream wafer sandwich cookies, it’s all about balance and quality in your ingredients. Each element plays a crucial role in creating those delightful, melt-in-your-mouth treats that can turn any gathering into a memorable event.
Flour
I start with all-purpose flour for the cookies, as it provides the ideal structure. The right flour makes these cookies tender yet sturdy enough to hold the luscious filling.
Butter
Using unsalted butter enhances the flavor without overwhelming the sweetness. It should be softened to room temperature for easy blending, ensuring a creamy texture that melts smoothly on your tongue.
Sugar
Granulated sugar adds sweetness and contributes to the cookies’ delightful crispness. If you want a hint of caramel flavor, pairing it with a bit of brown sugar can elevate the cookie further.
Cornstarch
This ingredient is a game-changer! It creates that beautiful, delicate melt-in-your-mouth texture we’re after in these wafer cookies, making each bite a heavenly experience.
Filling
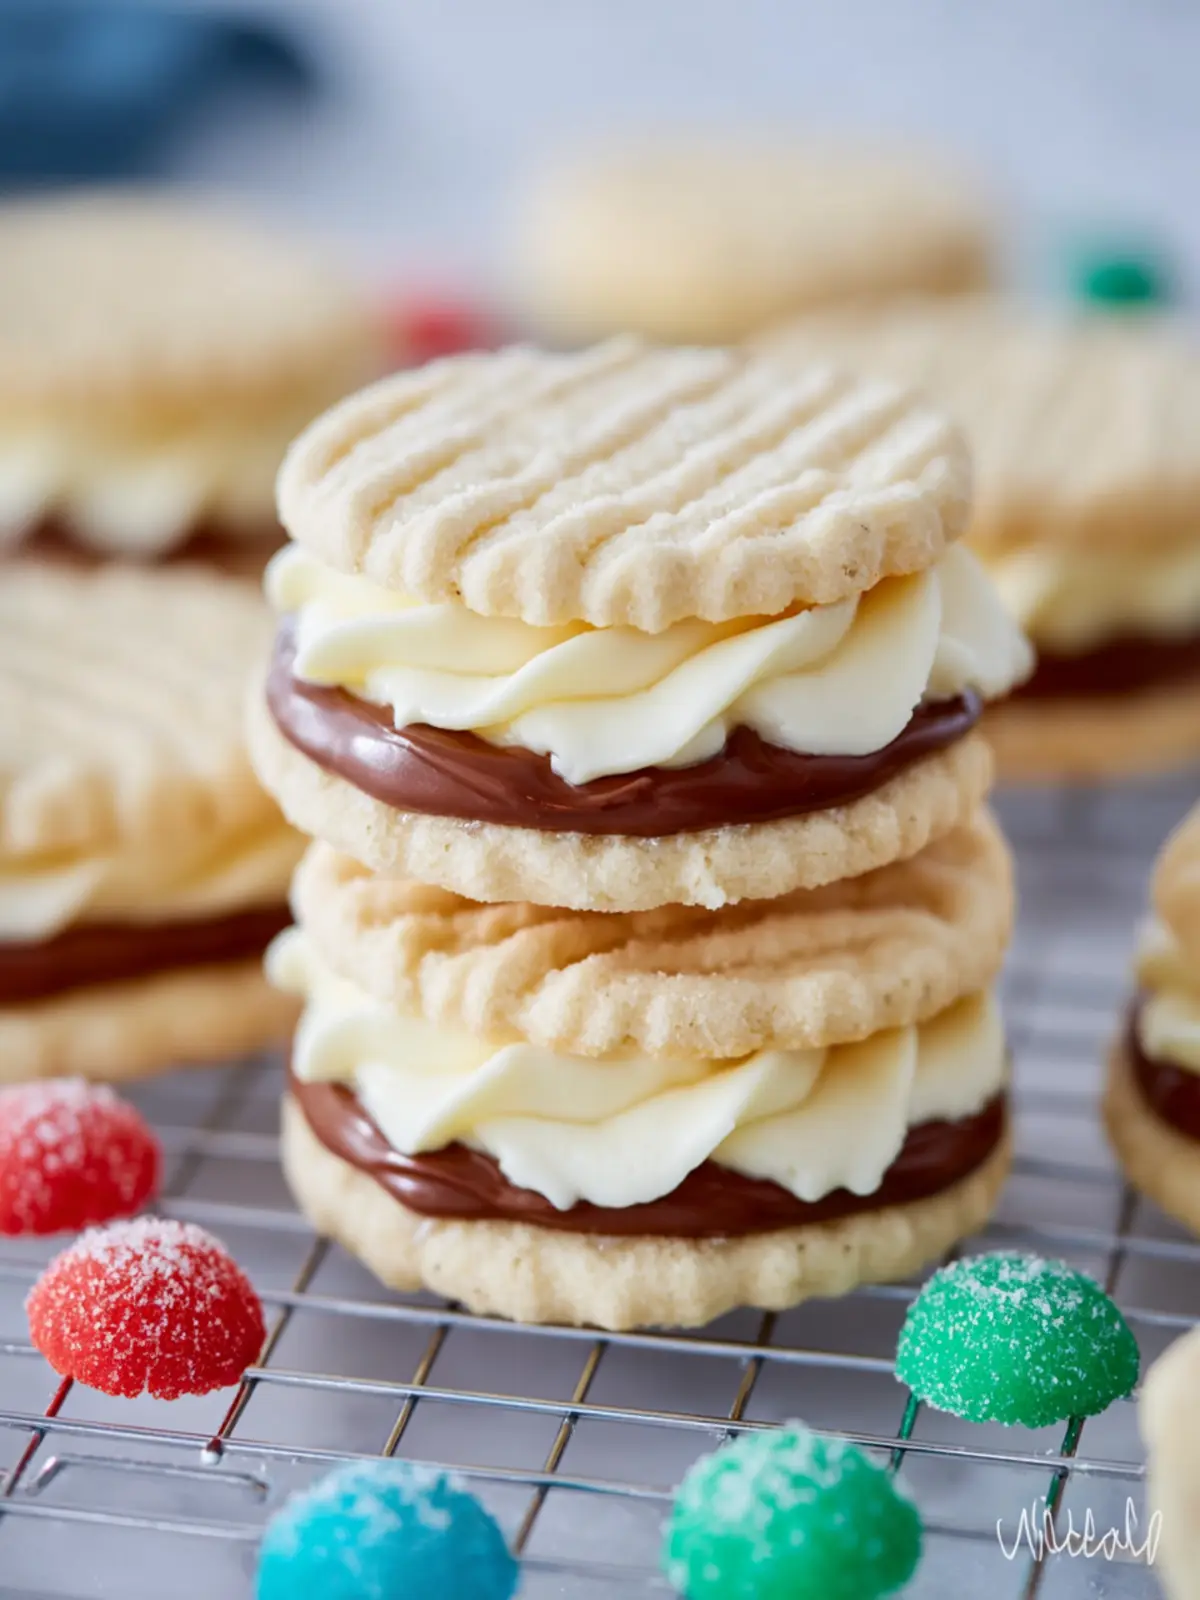
For the cream filling, you can use a mixture of butter, powdered sugar, and your choice of flavoring, whether vanilla, chocolate, or even peppermint. This step allows you to customize your cream wafer sandwich cookie recipe to your liking!
Vanilla Extract
A splash of vanilla extract adds depth and warmth to the cookies, balancing the sweetness perfectly.
By carefully selecting and measuring these ingredients, you’ll be one step closer to creating a delightful batch of cream wafer sandwich cookies that will impress friends and family alike. Happy baking!
Why You’ll Love This Recipe
Indulging in a delightful cream wafer sandwich cookie recipe means treating yourself to nostalgia, reminiscent of those carefree afternoons spent with a glass of milk and a homemade treat. This recipe not only delivers satisfying crunch and creaminess but also opens the door to creativity in the kitchen.
One of the best aspects of this recipe is its simplicity. With just a handful of ingredients, you can whip up these sandwich cookies in no time. The thin, crisp wafers are a wonderful contrast to the smooth, buttery cream filling that holds them together. Imagine serving these at your next gathering—guests will be in awe of your baking prowess while you revel in how easy they are to make!
- Versatile Flavors: Feel free to experiment with the filling! Whether you prefer classic vanilla, rich chocolate, or zesty lemon, the options are endless.
- Perfect for Any Occasion: These cookies shine at parties, bake sales, or even as a quick snack while working from home—they fit right into your busy lifestyle.
- Shared Memories: Making and sharing these cookies can be a bonding experience with family and friends, creating sweet memories that last beyond the last crumb.
Get ready to create bite-sized happiness with this cream wafer sandwich cookie recipe!
Variations for Your Cream Wafer Sandwich Cookies
Exploring variations for your cream wafer sandwich cookies unleashes a world of flavors and textures, turning each batch into a new delightful experience. Why not personalize your cookies and make them suit your taste?
Flavorful Fillings
While the classic filling is delicious on its own, consider switching it up:
- Chocolate Ganache: Melt dark chocolate with heavy cream for a rich, indulgent filling.
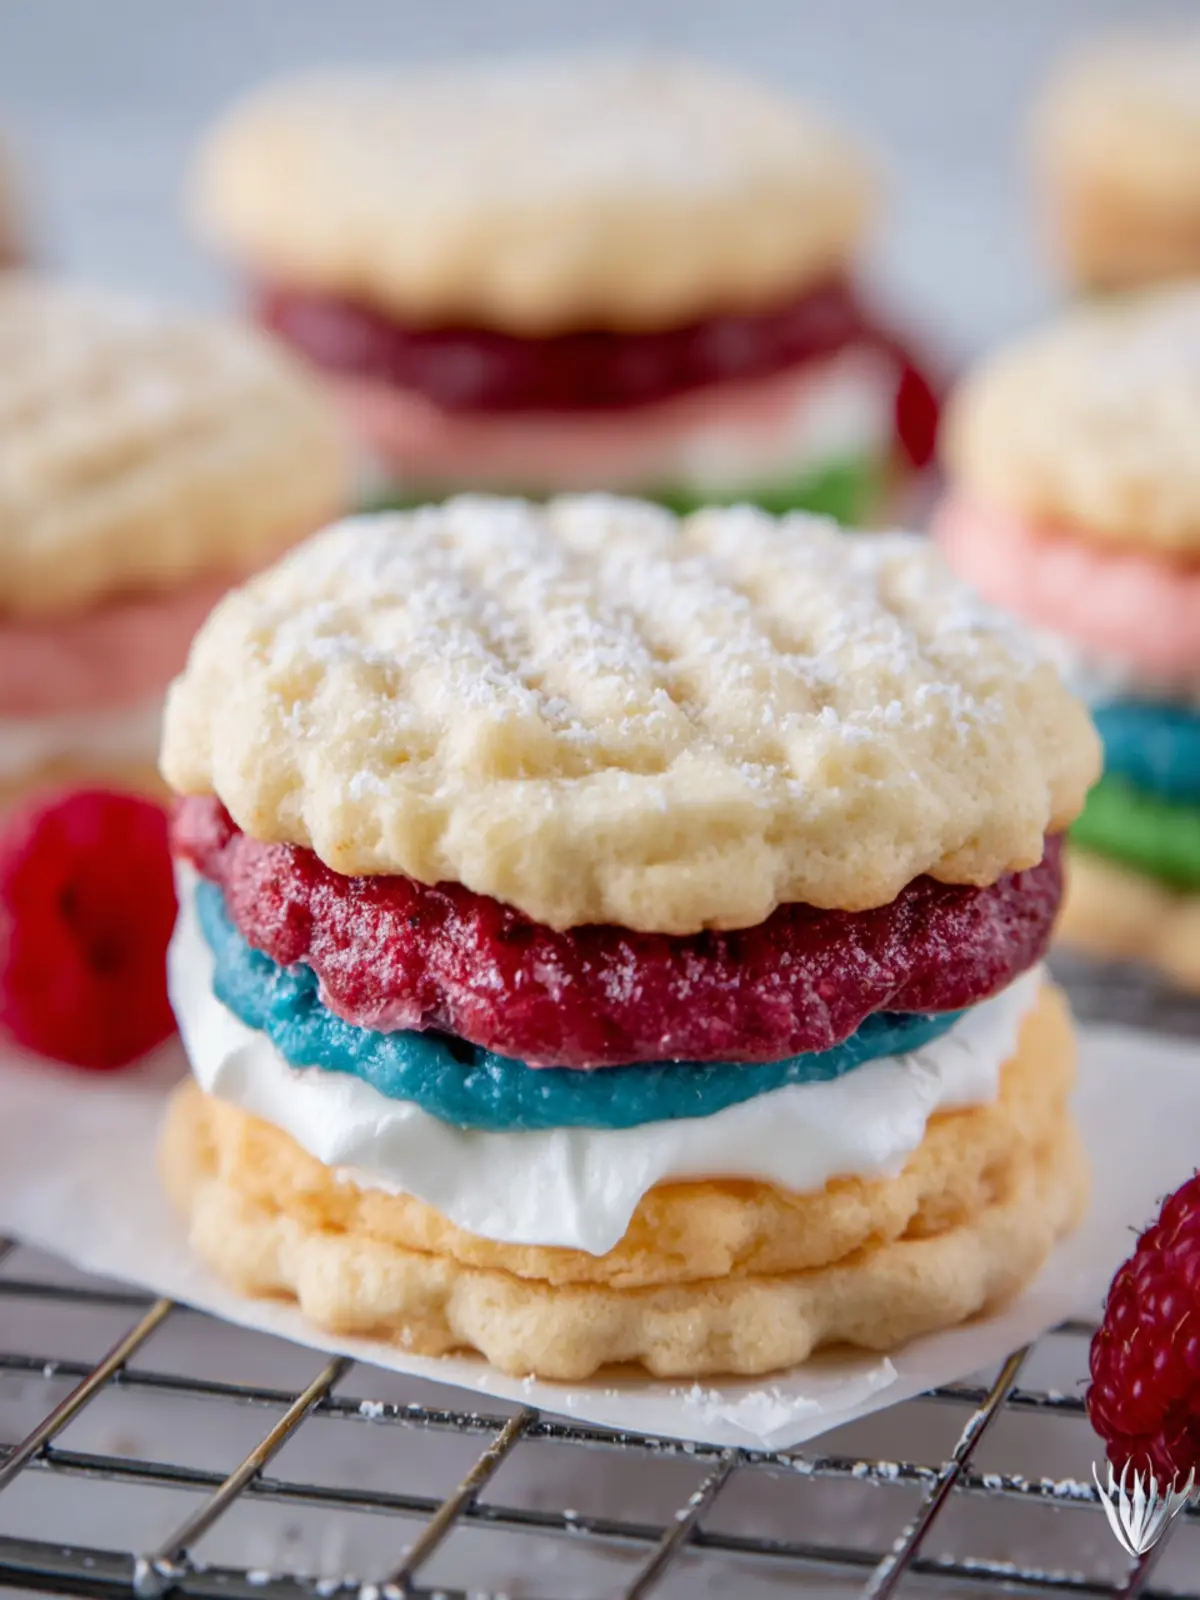
- Fruit Jam: Layer in your favorite preserves—raspberry or apricot add a refreshing twist.
- Nut Butters: Try almond or cashew butter for a nutty surprise. These add both creaminess and a hint of savory flavor.
Unique Wafer Variants
Why not experiment with different wafer flavors?
- Chocolate Wafer Cookies: Use cocoa powder in the batter for a chocolaty base.
- Matcha Wafer Cookies: Incorporate matcha powder for a unique, earthy flavor and beautiful green hue.
Seasonal Twists
Make your cookies festive:
- Pumpkin Spice: Add pumpkin puree and warm spices for a cozy autumn version.
- Peppermint: Incorporate crushed peppermint candies or extract for a refreshing holiday treat.
Incorporating any of these variations not only honors the original cream wafer sandwich cookie recipe but also opens the door to endless possibilities that will excite your palate! Embrace creativity and make these cookies truly your own.
Cooking Tips and Notes for Cream Wafer Sandwich Cookies
Baking is a delightful journey, and with the cream wafer sandwich cookie recipe, you are in for a treat that will fill your kitchen with sweet aromas. These dainty delights are perfect for any occasion, whether you’re impressing guests or enjoying a cozy night in.
Perfecting the Dough
- Chill Your Dough: Allowing the dough to chill for at least 30 minutes makes it easier to roll out. A well-chilled dough also results in thinner, crisper cookies, which is key for that perfect sandwich cookie texture.
Baking Techniques
- Even Thickness: When rolling out the dough, aim for a consistent thickness. This ensures that your cookies bake evenly, providing a uniform base for the creamy filling. Using a rolling pin with guides can help you achieve this consistency.
Flavor Variations
- Experiment with Fillings: While the classic buttercream adds a delightful touch, consider trying flavors like chocolate, mint, or even fruit preserves for a fun twist. Each filling can totally transform your sandwich cookie experience.
Storing Your Cookies
- Keep Them Fresh: To maintain the crunchiness of your wafers, store them in an airtight container once assembled. If you prefer softer cookies, leave them unfilled until you’re ready to enjoy them.
By following these tips, your cream wafer sandwich cookies will turn out beautifully, making them the highlight of your dessert table. Happy baking!
Serving Suggestions for Cream Wafer Sandwich Cookies
When it comes to delighting friends and family, nothing beats the charm of a cream wafer sandwich cookie. These elegant confections not only satisfy your sweet tooth but also make for a stunning presentation at any gathering. Imagine a cozy afternoon with good company, where these cookies serve as the highlight of your snack table.
Pairing with Beverages
To enhance the experience, consider serving your cookies alongside a hot beverage like freshly brewed coffee or a comforting cup of tea. The richness of your cookies contrasts beautifully with the warmth of the drink, creating a comforting pairing that’s perfect for a snack break or a relaxed evening chat.
Creative Serving Styles
- Platter Presentation: Arrange your cream wafer sandwich cookies on a decorative platter, perhaps with a sprinkle of powdered sugar on top. This adds an elegant touch and makes them irresistible to guests.
- Layered Desserts: Consider crumbling some cookies over a scoop of vanilla ice cream or yogurt. The creamy texture of the ice cream combined with the crunch of the cookies creates a delightful sensory experience.
- Themed Parties: If you’re hosting a themed gathering, customize the flavors of your cream wafer sandwich cookies to match the occasion. For example, peppermint-flavored cookies are perfect for the winter holidays, while fruity options elevate summer celebrations.
By incorporating these serving suggestions, you’ll not only impress your guests but also elevate your homemade treats to new heights of deliciousness. Enjoy creating memorable moments with every bite!
Time Breakdown for Cream Wafer Sandwich Cookies
Creating the perfect cream wafer sandwich cookies is not only about the ingredients; it’s also about knowing how to manage your time efficiently in the kitchen. Here’s a handy time breakdown that will keep you on track while preparing this delightful treat.
Preparation Time
Start your journey with approximately 20 minutes. This gives you enough time to gather all your ingredients, mix the dough, and get everything ready for the next steps.
Refrigeration Time
Allow your dough to chill for about 30 minutes. This step is essential as it will make rolling out the dough easier and enhance the texture of your cookies.
Baking Time
The baking part will take around 10-12 minutes. Keep a close eye on them as they turn golden brown, ensuring even baking throughout.
Total Time
All combined, expect around 1 hour and 10 minutes from prep to baking. With a little patience and love, you’ll have a batch of delicious cream wafer sandwich cookies to enjoy!
Nutritional Facts for Cream Wafer Sandwich Cookies
When indulging in a homemade cream wafer sandwich cookie recipe, understanding the nutritional facts can enhance your enjoyment of these delightful treats. Not only are they a wonderful complement to your coffee break, but knowing what’s in them adds a layer of mindfulness to your snacking.
Calories
A serving of cream wafer sandwich cookies typically contains around 150 calories. Perfect for satisfying that sweet tooth without going overboard.
Total Fat
These cookies contain about 7 grams of total fat, which gives them a satisfying richness. Sourced from butter and cream, this fat plays a key role in their delightful texture.
Sugar
Each cookie has approximately 10 grams of sugar. This sweetness is essential for balancing out the rich flavors of the cream and contributing to that irresistible taste.
Protein
Cream wafer sandwich cookies provide a modest protein content of about 1 gram per cookie. While they aren’t a protein powerhouse, they’re definitely a fun treat to enjoy!
By being aware of these nutritional components, you can make informed choices while baking and enjoying your cream wafer sandwich cookies.
FAQs about Cream Wafer Sandwich Cookies
Creating the perfect Cream Wafer Sandwich Cookies can bring back delightful childhood memories, but it often raises questions along the way. Here are some frequent inquiries that can help you navigate your baking journey!
How do I achieve the perfect texture for my cookies?
The texture of your Cream Wafer Sandwich Cookies hinges on a few key steps:
- Chill the Dough: After mixing your ingredients, allow the dough to chill in the refrigerator for at least 30 minutes. This helps firm it up and reduces spreading during baking.
- Roll It Thin: Aim for a thickness of about 1/8 inch when rolling out your dough. Thinner cookies crisp up nicely, providing that delightful crunch with each bite.
- Baking Time: Keep a close eye on your cookies as they bake. Overbaking can lead to dryness. They should be lightly golden when done.
Can I freeze Cream Wafer Sandwich Cookies?
Absolutely! Freezing is a great option to enjoy these cookies at a later time. Here’s how:
- Unfilled Cookies: Freeze your cookies before adding the filling. Lay them on a baking sheet to freeze individually, then store them in an airtight container or a freezer bag.
- Filled Cookies: If you’ve already assembled your sandwich cookies, wrap them tightly in plastic wrap or foil before freezing. They can last up to three months in the freezer.
What are some flavor variations I can try?
The beauty of cream wafer sandwich cookie recipes lies in their versatility! Consider these flavor ideas:
- Chocolate Lover’s Twist: Add cocoa powder to the dough for a rich chocolate base.
- Nutty Delight: Incorporate finely ground nuts like almonds or hazelnuts into your filling or dough for added crunch and flavor.
- Fruit Infusions: Mix in some fruit zest or swap out traditional fillings for fruit preserves to brighten up your cookies.
These variations not only create exciting twists on traditional flavors but also make your Cream Wafer Sandwich Cookies uniquely your own!
Conclusion on Cream Wafer Sandwich Cookies
Baking these delightful cream wafer sandwich cookies is not just about following a recipe; it’s an experience that transforms your kitchen into a sweet sanctuary. These cookies, with their light and crispy texture, paired with rich, creamy filling, make for the perfect treat at any gathering. Imagine sharing them with friends over coffee or enjoying them as a midday snack—the joy they bring is immediate and contagious. As you explore this cream wafer sandwich cookie recipe, remember that the key to success lies in using quality ingredients and taking your time to assemble each sandwich with love. You and your loved ones will savor every bite!
Print
Buttercream Cookies
- Total Time: 2 hours 29 minutes
- Yield: 24 cookies 1x
- Diet: Vegetarian
Description
Delicious buttercream-filled cookies, perfect for any occasion.
Ingredients
Scale
- 1 cup unsalted butter (softened)
- 1/3 cup heavy cream
- 2 cups flour
- 1/2 cup granulated sugar (for dusting)
- 1/2 cup unsalted butter (softened)
- 1/4 teaspoon kosher salt
- 1 1/2 cups confectioner’s sugar
- 2 teaspoons vanilla
- 2–4 tablespoons heavy cream
- Food coloring (optional)
Instructions
- In the bowl of a stand mixer (or with a hand mixer), beat the butter 3-5 minutes until it’s light and fluffy.
- With the mixer on low, slowly add the flour and then the cream. Mix until just combined.
- Cover and refrigerate the dough for at least two hours or overnight.
- Preheat oven to 375 degrees F.
- On a lightly floured surface, roll out the dough to a 1/8-inch thickness. Cut with a round cookie cutter.
- Add the sugar to a separate small bowl. Press one of the cut out circles into the sugar. Then, place on an ungreased cookie sheet. Prick with a toothpick or fork. Repeat with remaining circles.
- Bake for 7-9 minutes, removing the cookies from the oven just before they start to brown. Remove them from the cookie sheet to cool.
- In the meantime, make the filling. In the bowl of a stand mixer (or with a hand mixer), cream the butter and salt until light and fluffy (this will take 3-5 minutes).
- With the mixer on low, add the powdered sugar, 2 tablespoons of heavy cream, and vanilla. Then add the food coloring. If the filling seems too thick, add more heavy cream until desired consistency is achieved.
- To easily frost the cookies, put the filling in a piping bag. Once the cookies are cool, pipe the filling on the back of one cookie. Top with another cookie and press to secure.
- Pack and store in an airtight container.
Notes
- Allow the cookies to cool completely before adding filling.
- Experiment with different food coloring to create festive designs.
- Prep Time: 20 minutes
- Cook Time: 9 minutes
- Category: Dessert
- Method: Baking
- Cuisine: American
Nutrition
- Serving Size: 1 cookie
- Calories: 150
- Sugar: 8g
- Sodium: 50mg
- Fat: 7g
- Saturated Fat: 4g
- Unsaturated Fat: 2g
- Trans Fat: 0g
- Carbohydrates: 21g
- Fiber: 0g
- Protein: 1g
- Cholesterol: 30mg